A 3D Printing Guide
First Impressions
While I tend to try to get into tech early and 3D printing has been very exciting to follow there was one sticky bit that I could never get past. The speed. 3D printers have traditionally been crazy slow. I just don’t have the patience to wait 2 days for a useful print. Or 8 hours for small knickknacks.
Recently the speed limit has been lifted and new printers print at 2x-4x the speed of older ones. At the same time the tech has matured and become far less expensive making new printers less than the price of many traditional medium to higher end printers. A literal win win.
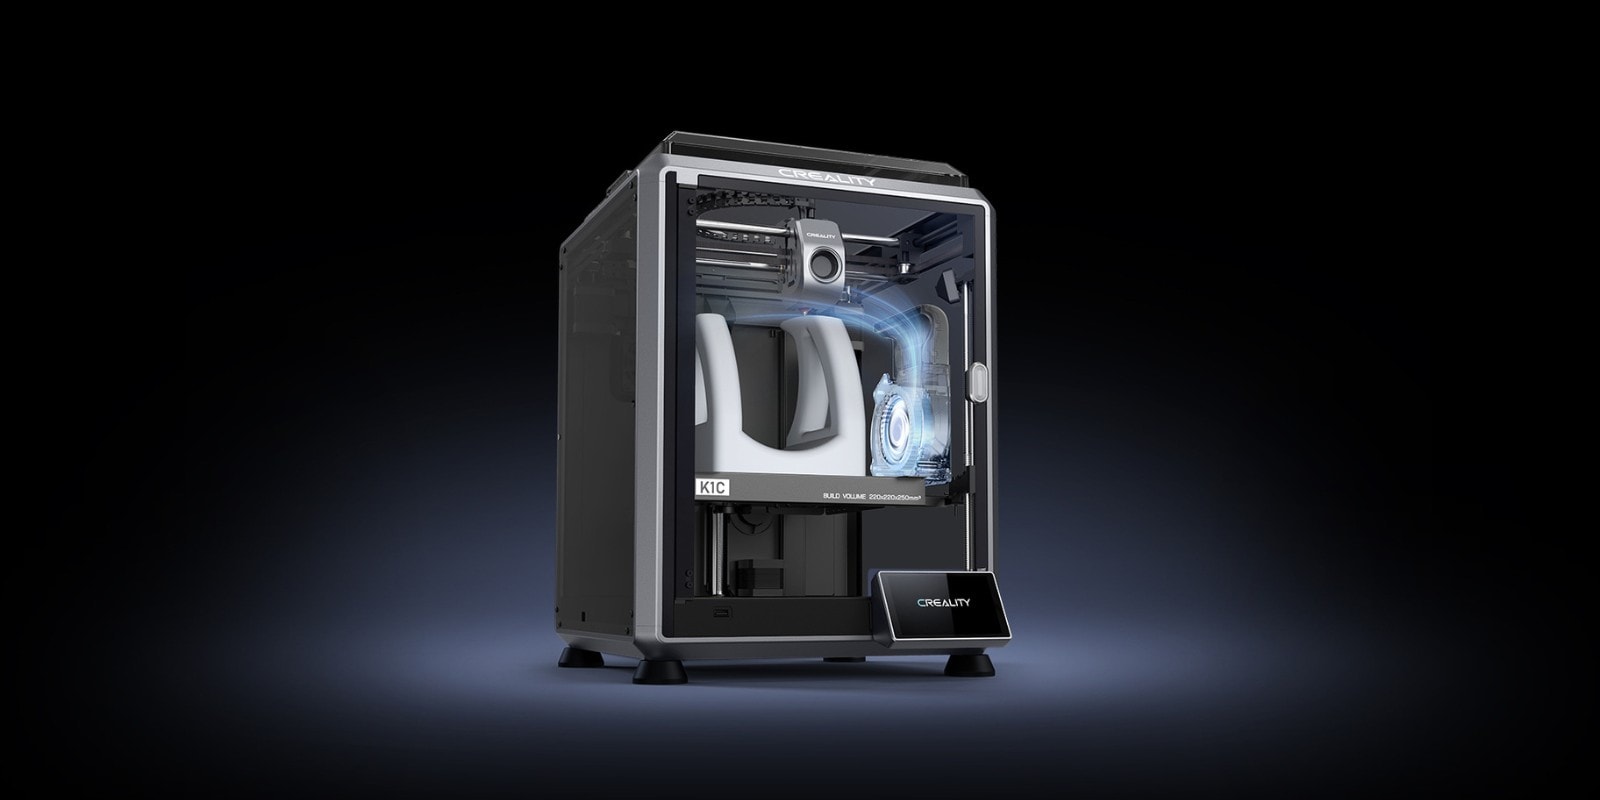
Which brings me to the purchase of my Creality K1C printer. For a mere $550ish you can get a printer with a decent sized build volume, a metal hot end, enclosure, and amenities like a built in webcam for monitoring and sharing time-lapse. I’m well aware of the questionable support from Creality and so far this has proven to hold true. For all the value of such a machine if you aren’t a tinkerer and not willing to be patient with their support then this might not be the machine for you. Do your research, check all the functions you want/need. If I had to do it again I’d seriously consider getting a multi-color printer.
Having said, there have been a few bumps in the road. A filament sensor that turned up broken. I attempted to get support to replace it but after 3 emails back and forth with them they continued to try to drive home self-support with instructions and FAQs rather than just replace the $15 part. Ultimately I just ordered a replacement part off Amazon. So at least availability of parts isn’t a problem.
The second issue of note that I’ve had was an issue with the printer randomly jumping 10mm left, mid-print, ruining the print. In this case the Reddit community of r/Creality were very helpful with many suggestions. After cleaning the printer up real well and wiping down the rails things seem to be back on track. It seems either filament wisps or carbon from the bearings were jamming things up and causing the print head to stick on the rails then launch itself beyond their intended position. Keep your printer clean kids!
Despite these issues it’s been mostly smooth sailing. Just know that you will at some point have to learn to solve problems related to the printer just like any other printer. Don’t let this deter you! 3D printing when it’s working right feels like magical powers of conjuring something from base elements and it’s so so so good!
We Started From the Bottom
3D printing is an odd conglomeration of knowledge domains. It’s got one foot in computers, one foot in CAD and engineering and one foot in it’s own world of 3D printing. I don’t know why 3D printers have 3 feet. For me, a long time Server Admin and computer nerd, the computer bits were a given and while I have some knowledge of 3D modeling CAD is a much more technical variation that still required quite a bit of new learning.
Lets start at the bottom. Like most things you need to start with a stable base. 3D printers have moving parts that require precision and that’s hard to accomplish if the platform you put the printer on wobbles creating an effective earthquake to try to be precise on top of. My first evening with the machine I got real excited and thew the printer on the dining room table. While not a cheap table it’s also somewhat stylish and has fairly thin legs. This was not remotely sufficient. I have a large wooden work bench in the basement but my tools take up most of the space so I had to come up with something new. In my research I ran across this video https://youtu.be/y08v6PY_7ak?si=K8MiAy9ZJ_FX8f5H Given this information and a need to find a cheap option for my printer I went on a field trip to the hardware store. I came home with two milk crate style boxes that stack and interlock and a paver stone. Grand total about $35. It sits a little low but the low center of gravity helps I think. This has been a rock solid base for my printer and cheap to boot.
Filament
Filament, filament, filament! There are a bunch of types and they have different properties. I was originally of the mind that melting plastic was a horrible idea but then I learned that PLA is biodegradable and doesn’t off gas when heated to the temps you reach in a 3D printer. Thus it’s perfectly safe. PETG similarly doesn’t really off gas but has a higher melting temp and UV resistance so it’s great for a huge number of applications. There is a ton to learn here so I’m not going to try to cover it all. Bambu Lab has a pretty good filament guide here that can lead you to what you might need or prefer. https://bambulab.com/en/filament-guide
Filament gets a second paragraph because there is a special case regarding filament. That is filament works best when properly dry. Plastic tends to take on moisture to some extent. In day to day use this doesn’t matter much. Unfortunately when it comes to heating filament this becomes problematic because the water will steam and form bubbles in the filament. This is the purpose of a filament dryer. Some folks use off the shelf dehydrators but most manufacturers make purpose built dryers with prescribed temperatures and timers to help save energy and make the filament just as dry as it needs to be. The quality of prints when filament is properly dry is remarkable.
Models
You’ve got a printer, you’ve got some filament, now you need to find some things to print. The largest model markets are the following:
- https://www.printables.com/ Started by the OG printer maker Prusa this is the largest site by far.
- https://makerworld.com/en This is operated by Bambu Lab. Solid selection of models.
- https://cults3d.com/en This seems to be a market for general 3D models but has a decent 3D printing section.
- https://thangs.com appears to be a sort of meta market with a splash of maker payment plastform. Many models are free and some link to other sites however they are pushing subscriptions that grant access to whole collections of models by specific creators.
Slicers
Okay so how do you get the model on to the printer and into reality? This is where “slicers” come into play. A 3d print is made up of hundreds, or more often thousands of layers and the printer has to put them down in a way that doesn’t cause the print head to hit things or otherwise mess up your print. The printer speaks something called gcode which is similar to CNC but with an extra dimension and special code or language for 3D printers. So a slicer translates the 3D model geometry into gcode defining how every layer is going to be squirted out on the printer. Most manufacturers release their own slicer software so until you really understand and can get more advanced it’s advised to use that. Most software is incredibly similar and tend to have search options all over the interface so it’s fairly easy to follow directions and find what you need to find.
Maintenance
Congratulations on making a print. Now the real work begins. I don’t mean removing the print supports and cleaning up any wisps of filament. Though you’ll need to make sure to do that too. No, you need to clean the printer to be prepared for the next print. To ensure good prints you need to ensure the first layer can adhere well to the build plate. This creates stability for the upper levels of your prints. Oils from your fingers literally create enough of a slick to prevent this. There are many who swear by a given strategy to get your plate clean. I’m going to split the difference and advocate for both. The first is 99% alcohol like rubbing alcohol. A quick splash and wipe down with a lint free cloth and you should be ready to go. However, I have noticed that even with diligent alcohol use things can start to slip a little. This is where cleaning with soap and water comes in. Make sure it’s a high quality soap so it doesn’t leave residue.
Finally give the rest of the machine a good clean out. I’ve found a lint free cloth to take up any wisps that tend to accumulate as the cooling fans blow them around the machine. Also a small vacuum is ideal for sucking up the little bits of filament that tend to collect at the bottom of the case under the build platform. Diligent as one can try to be stuff still collects and a quick vacuum is the easiest resolution.
The Rabbit Hole
There is so much to explore with 3D printing. Tons of content on Youtube to watch and lessons to learn. How to do CAD so you can create your own custom 3D prints. So many types and colors of filament to try. Problems to solve in your own life. Have fun!